The process for sending digital receipts using Slyp is simple and straight-forward as outlined below.
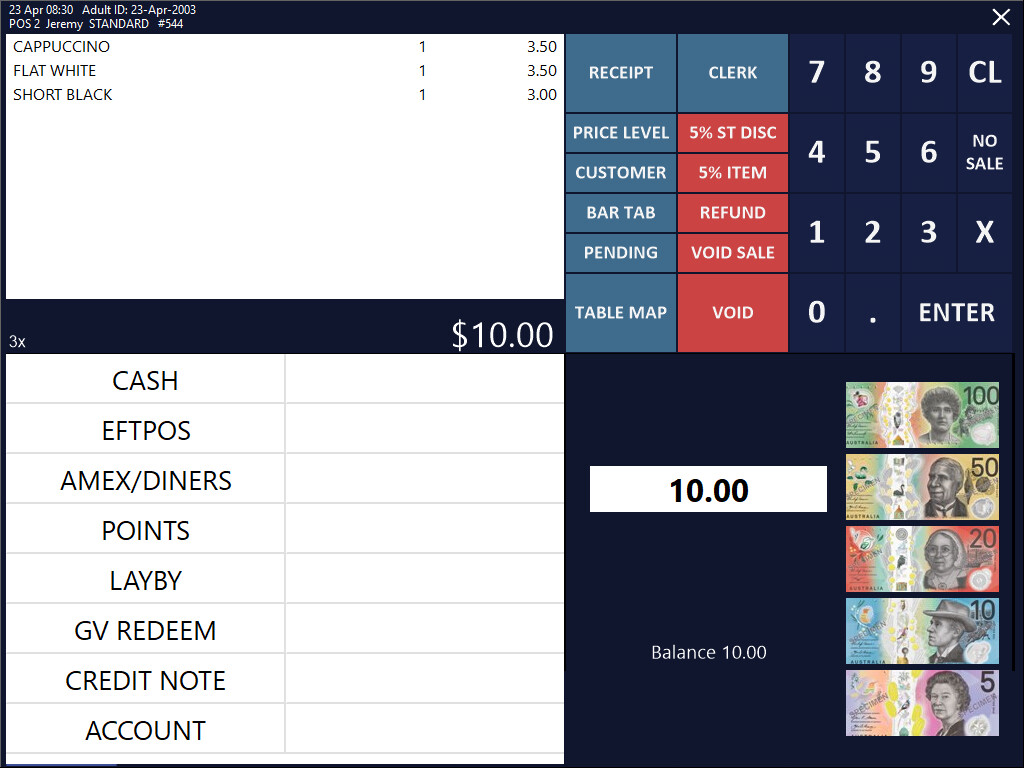
Add items to the sale as you normally would, then press the ENTER button to go the Tender screen.
Select a Tender from the list of available Tenders or select one of the Fast Cash buttons.
Idealpos will then display a Digital Receipt prompt.
The available methods for sending a digital receipt (Text Receipt To/Email Receipt to) will be reflective of the settings that were configured in Global Options during the configuration process that was completed previously:
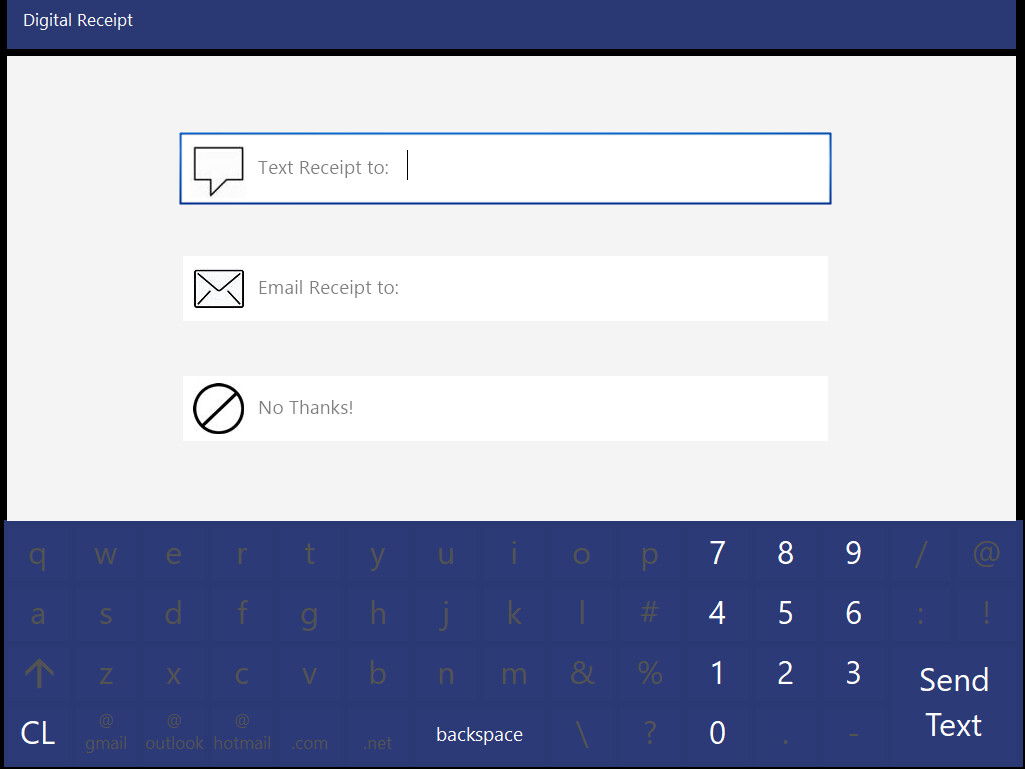
Click or touch the required field, then enter a Mobile Number or Email address, then press the Send Text/Send Email button.
A copy of the receipt will be sent to the customer.
An example receipt is shown below:
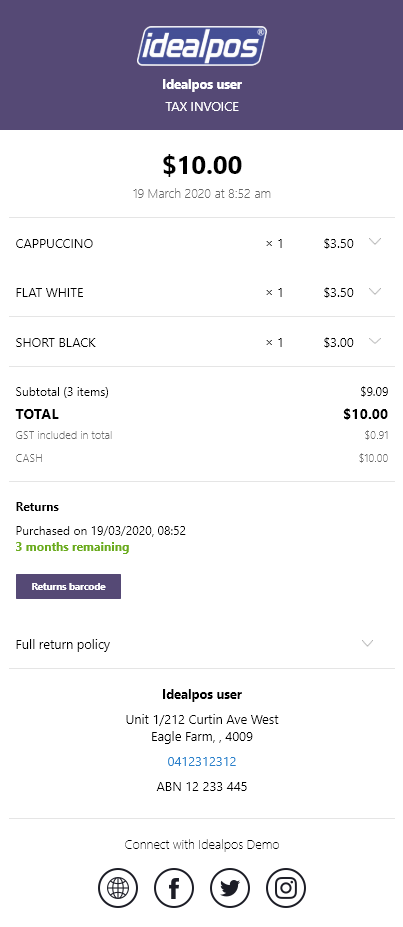
Your company's/store's details that are displayed on the digital receipt (such as the company logo/header background colour, etc.) can be controlled by logging into the Slyp website using your details - https://my.slyp.com.au/auth/signin
Once you have logged in, click on the Smart Receipt page from the left-hand side menu and adjust as required.
Contact Slyp for more details regarding your account login details or changes to your digital receipt if you aren't sure.
When Slyp is configured, you may also want to enable or disable receipt printing on the fly.
For more information about doing this, click on the link "Print Receipt On/Off" below:
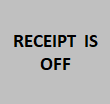
The Print Receipt On/Off button has two features/functions.
To toggle the printing of physical receipts, press the button.
When Receipt Printing is turned off, physical receipts will not be printed and the button will appear similar to the below:
When Receipt Printing is turned on, physical receipts will be printed and the button will appear similar to the below:
If receipt printing is turned off via the button described above and a Customer wants a physical printed receipt, you can also trigger a receipt to print on the fly.
For more information about doing this, click on the link "Print Receipt button" below:
The print receipt button can be pressed at any time after a sale to print a receipt for that sale:
To print a receipt, press the RECEIPT button: